How to Stop Freezer Burn
Freezer burn is air damage: air inside the packaging lets surface moisture leave the food and oxidises what remains, leaving grey, leathery patches. Removing the air before freezing stops the process at its cause. Vacuum sealing does that by drawing the air out.
The short answer
Portion the food, vacuum seal it in a FoodSaver vacuum sealer, using the steps below (freeze soft items first, and cover sharp bones), and label it with the date. The Premier Multi Use model holds 4.3 stars across 1,043 reviews on Kohl's (November 2026), with 75 percent of reviewers recommending it. Air is the cause, so the machine that removes air is the fix; wrapping tighter by hand helps, and it is not the same thing.
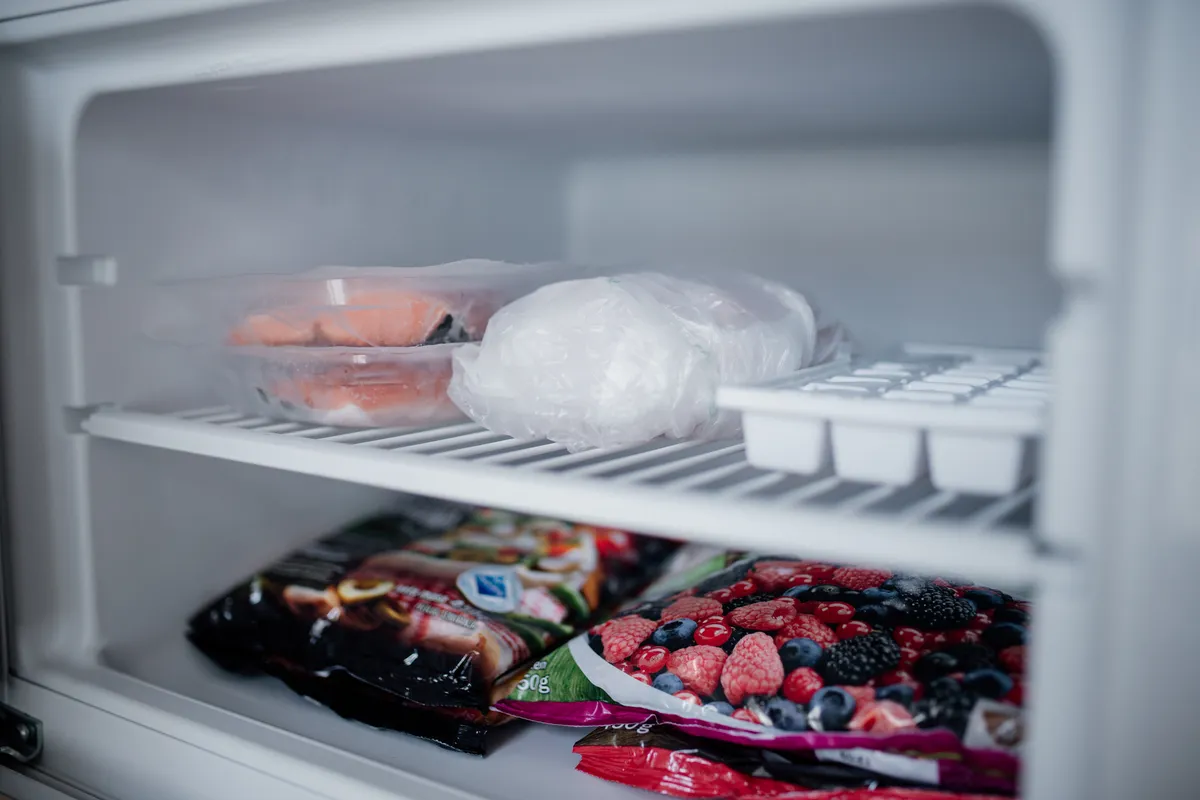
Why does this happen?
A freezer is a dry, circulating air environment, and exposed food surfaces lose moisture into that air even at freezing temperatures, a slow drying that leaves pale, tough patches. At the same time, oxygen in any air pocket around the food oxidises fats and pigments, adding stale flavours and grey color. Together those two processes are freezer burn: not a safety failure, but a quality loss that grows with every week the food sits in a loose bag with a pocket of air.
Ordinary wrapping fails on the pocket, not on effort. Zip bags trap air you cannot fully press out, butcher paper folds leave channels, and thin film punctures and loosens as food freezes into hard shapes. Vacuum sealing changes the shape of things: the bag collapses onto the food as the air leaves, so there is almost no air to dry or oxidise the surface, and the seal holds for months. The details matter at the edges, literally, because one failed seal lets air back in, and that portion is back in the old conditions.
The fix, in order
The steps are ordered cheapest first. Stop at the one that solves it and skip the rest; the product is there only for where the free steps run out.
Free step
Portion, chill, and pre freeze the awkward items
Divide food into the portions you will actually cook, so no sealed pack is opened and resealed repeatedly. Pre freeze soft, wet, or sharp items briefly on a tray until firm: firm food seals better, wet surfaces stay out of the seal area, and sharp bones can be covered so they cannot puncture the bag.
Free step
Load bags with headroom and a dry seal zone
Leave generous space above the food and keep the top inside of the bag clean and dry, because moisture or grease in the seal zone is the common cause of a weak seal. Arrange food flat rather than heaped, so the finished pack freezes flat, stacks well, and thaws evenly later.
The product step
Vacuum seal with the FoodSaver and check each seal
Seal one pack at a time following the machine directions, then inspect the seal line and squeeze the pack gently: it should stay tight to the food with no air creeping back. Do not freeze a pack that loosens and hope for the best. Cut it open and reseal it at once. Label every pack with contents and date before it goes in.
The product for this step
FoodSaver vacuum sealer
Habit step
Freeze flat, rotate stock, and cook the oldest first
Freeze packs flat until solid, then file them upright or stacked, oldest at the front. Vacuum sealing keeps food in good quality for months, not forever, so use the date labels and eat the oldest first. A sealed pack from last season should be next week's dinner, not something you discover next year.
The evidence, in tiers
Tier 1 · The method
This method follows how freezer burn works: surface drying and oxidation both need contact with air, so packaging that removes the air and holds a seal deals with the cause directly. That is the basis of vacuum sealing as a food storage method.
Tier 2 · This product
The FoodSaver Premier Multi Use holds 4.3 stars across 1,043 reviews on Kohl's (November 2026), with 75 percent of reviewers recommending it.
We have not run a months-long freezer comparison for this guide. The sealing steps follow how freezer burn works and the machine directions, including the warning about wet food, which comes from its own review record.
Tier 3 · What owners report
Owners report meat and bulk buys keeping their colour and texture far longer sealed than bagged, with failures that come from seals rather than from storage time. Wet foods get the most complaints in the record, which is why the steps for freezing soft items first and keeping the seal area dry come before the machine step here.
The alternatives, conceded where they win
| Option | What it is | The honest verdict |
|---|---|---|
| FoodSaver vacuum sealer | Vacuum removal of air plus a heat sealed bag, portion by portion | The pick: it removes the air that causes the damage, at a scale and consistency hand wrapping does not reach, for a household that freezes in bulk. |
| Zip freezer bags with air pressed out by hand | Heavy bags closed after manual air removal, sometimes by water displacement | Cheapest, and best for small, short storage jobs, where a week or two does not test any packaging much. It loses over months, because hand-pressed bags keep an air pocket, and their seals let air back in slowly. |
| Butcher paper and foil wrapping | Traditional wrapped parcels, taped and labeled | Wins for a quick wrap of a single roast to be cooked soon, using what is already in the drawer; it loses on long storage, where folds leave air channels and paper offers the surface no protection from drying. |
The honest price comparison
The honest comparison is the food itself: bulk meat and freezer meals discarded or endured burnt cost more across a season than the sealer at about the $100 class, plus its bags and rolls. The machine is only worth its cost in a household that freezes regularly. The steps above assume that. If you rarely freeze food, think about whether you need one.
Where it falls short
The weaknesses below come from the product's own review record, the same record the recommendation rests on.
- Seals on wet foods are inconsistent in its own review record: liquid drawn toward the seal weakens it. The steps for freezing first and keeping the seal area dry are there to prevent that.
- Bags and rolls are a continuing consumable cost, so the true price of the system is the machine plus a season of bags, not the machine alone.
- Sharp bones and hard edges can puncture bags in the freezer, quietly readmitting air; those items need covering or padding before sealing, as the ladder directs.
- It extends quality, but it does not stop time: sealed food still declines over long storage, and a forgotten pack found after a year will taste a year old, whether it was vacuum sealed or not.
The product, in short
FoodSaver vacuum sealer
Questions people ask next
Is freezer burnt food safe to eat?
Freezer burn is a quality problem, dry and oxidised patches with stale flavour, rather than spoilage in itself. Many cooks trim the patches and use the rest in a stew or sauce. Food that smells off after thawing, or whose history is unknown, should be discarded.
Why do my seals fail on chicken and marinated meat?
Liquid is the usual cause: the vacuum draws moisture toward the seal zone, and a wet seal line does not fuse cleanly. Pre freeze pieces until firm, leave extra headroom, and wipe the seal zone dry first. Those steps answer most wet food failures in the record.
How much longer does vacuum sealed food keep its quality?
Longer by months rather than by days, because the two things that damage the food, drying and oxidation, slow right down without air. Exact times depend on the food and the freezer temperature, so rely on the date label and on eating the oldest first. Sealing gives you more time. Using the oldest first uses that time well.
Can I reseal a pack after taking some food out?
Yes, bags can be cut open and the remainder resealed, with a fresh check of the seal line each time. Each opening shortens the bag, so start with generous length on packs you plan to open repeatedly, and reseal promptly rather than returning an open bag overnight.
Kohl's product record for FoodSaver Premier Multi Use (November 2026) · Walmart listing for FoodSaver vacuum sealers (November 2026)
The Fix JournalCase 27Home Surfaces